April 19, 2018

Mini Charm Pack Pillow- a free pattern


Hello again! Today I have a fun, fast project to share. To make this pillow you will need:

2 Mini Charm Packs, or (81) 2.5" squares
FQ for backing
(2) 1" x 5" coordinating fabric for zipper tabs
(2) 20" squares of batting
16" or longer zipper (can be cut shorter!)

About a week ago I got these two sweet little Ella and Ollie packs in the mail, and I very impulsively opened them right up, organized the prints into colors, and arranged them in this diagonal design. I love how it turned out! Fig Tree fabrics are soooo pretty, that Joanna is the master of warm colors.

I wasn't planning on making it a tutorial so I  didn't take any "in progress" shots, sorry about that! You'll have to read the words. So annoying, ha!


To achieve a similar look with any fabric line, open up your charm packs sort your pieces into color piles- all the red together, all the blues, etc. Most fabric lines have around 6 main colors. Figure out what order you want your color gradient to go. I followed a loose rainbow- red, peach, yellow, green, aqua, white. There is also a little row of tan in mine. And, I went backwards apparently.

Starting in the upper right hand corner with alternating color stripes, begin to arrange the squares into a 9 by 9 grid. (9 rows across and 9 rows down) This will take some rearranging as you go, but who doesn't love to arrange and rearrange pretty fabric!? Not this girl. You will have 3 left over that you don't need.


It doesn't have to be perfect. Just play around with the colors until you find "stripes" you like, according to what fits and the numbers you have of each. Then, sew the squares into 9 rows of nine using a 1/4" seam. Then press the rows in the directions of the arrows.
Now sew your rows together. The seams of the intersecting squares should "nest" nicely so you don't have to pin, just line them up and make sure they are snug against each other before you sew them. Press your rows all one direction.

Quilt the pillow front as desired. I used a wavy stitch on my Husqvarna and followed the color "stripes". I take shortcuts wherever possible in quilting, so instead of marking lines, I first quilted down the intersections of the squares. Then I added in between rows by eye balling it between the rows I had already done. When you're doing a wavy stitch no one can tell if it's perfect!


Now it's time to assemble the pillow. I have instructions for this in multiple places. For a very detailed video tutorial, visit my Instagram profile and watch the story highlights under "zipper tutorial". There's a little circle with a springy pillow on it, click there. I believe it only works on phones, not desktop computers. For a photo tutorial that will work anywhere, go here.


I usually always make pillow covers 18" square, and use the 20" down pillow forms from IKEA. They are great. Also, I used an older Fig Tree print for the backing.

I hope this makes pillows a little more approachable for some of you, they really are fun! I am fully addicted as I'm sure you've noticed :)


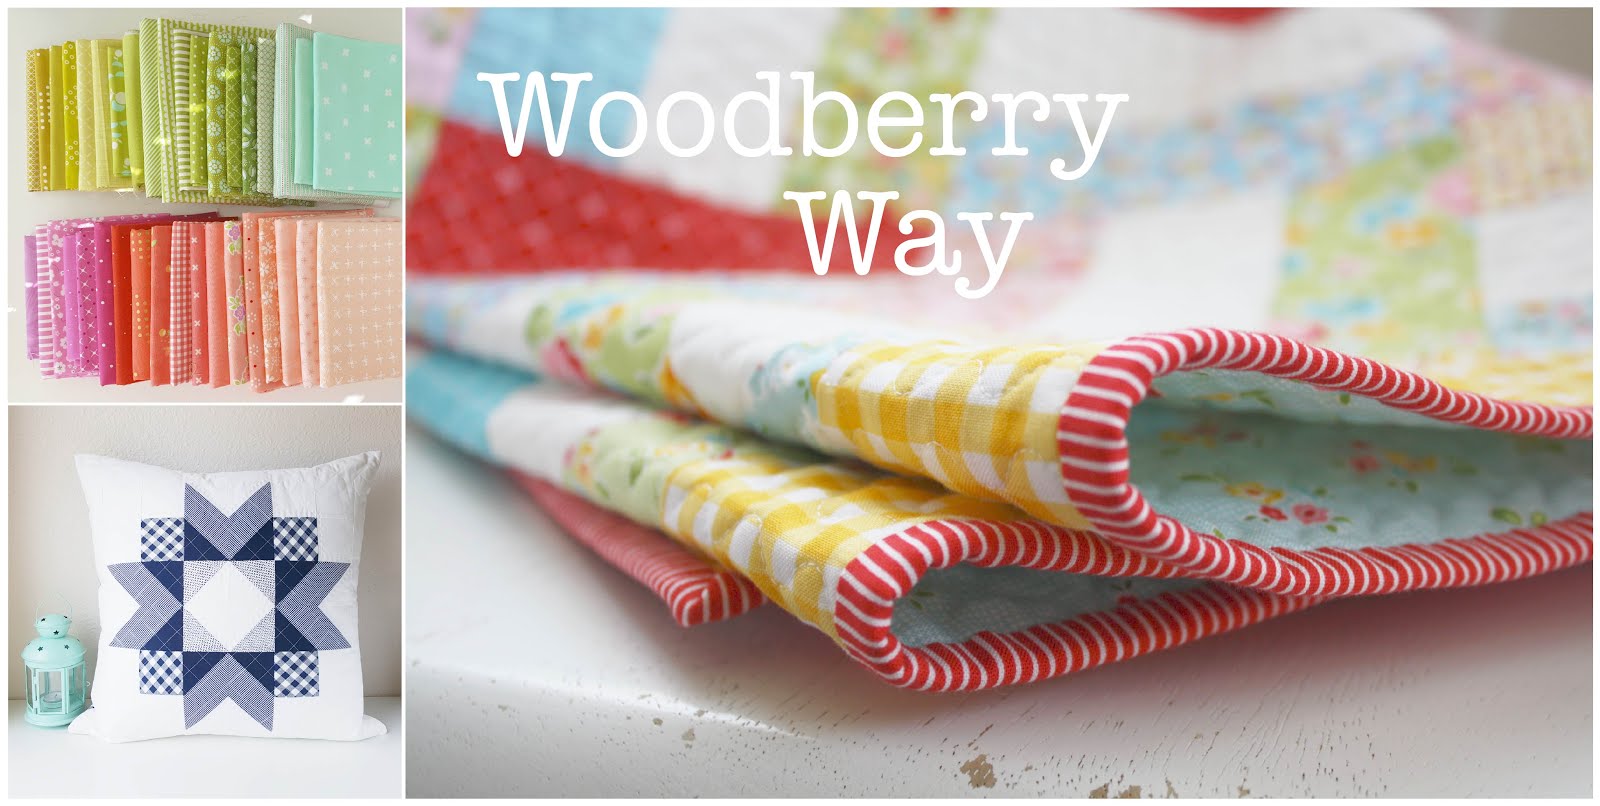
In a very happy color coordination accident, I had my solids out from my What Shade Are You quilt top for RJR fabrics. I chose these colors months ago! I had to take some out (purple), but look how happy they are together. You can find all the color names in that post. 

April 12, 2018

Latest Happenings and some helpful links

Hello! I really hope that spring has found you wherever you are (if in the Northern Hemisphere, ha). If not, I hope it comes very very soon! Spring is actually on the way out here in CA but we are still enjoying it to the fullest. Things have been busy in my Woodberry Way world and I thought I'd give some updates today.

I finished up one of my WIPs (works in progress)- that's always a good feeling! It's especially satisfying to me when it's a scrap quilt like this one. I saved the triangle cutoffs from the flying geese in my Star Kisses Quilt, sewed them into pinwheels, cut square cornerstones from my scrap bin, and followed the layout for the Chandelier pattern found in Vanessa Goertzen's latest book for charm squares. I love how it turned out!


It was quilted by Starlit Quilts (as usual!) and I had her back it with fabric from her Etsy shop- just a simple small gingham check in teal. I did hand binding this time with Bonnie and Camille's Hello Darling green dot. Such a happy finish!

I've also been doing some fabric pulls for my 5th (!) Jumping Jacks quilt. Every year I make a quilt for my British mom to give to one of her sisters for Christmas. She pays for the fabric and longarm expenses, and I get to make lots of fun different color combinations of one of my favorite patterns! This top pull was what I wanted to make, but this year's aunt wanted more of a traditional Union Jack palette, so we came up with the second one. It's still a work in progress, can't wait to get started. You can check out #leavittquilts on IG to see some others I've made.


We've had several rainy days this month and for whatever reason I've been wanting to do a lot of charity sewing. I found a few different causes going right now if you're interested.

  • My friend Briawna is collecting blocks for a charity auction quilts. It's an easy scrap busting block, and they look amazing all together. You can also buy raffle tickets to buy one of the quilts! 
  • Quilters is Canada are collecting blocks to make quilts for the families of the hockey players who died in a terrible bus accident. I love being able to contribute to things like this. I send my love and prayers and tears with those blocks and it makes me happy to know they will be gifted a big cozy quilt to remind them of how many people are thinking of them during this very difficult time.  
  • A fellow quilter lost her young daughter unexpectedly to the flu a few weeks ago. I have been really torn up about this one. She is collecting cat blocks to make mini quilts for all of her daughter's classmates. Heartbreak. I wanted to make a quilt just for her, so I put together this heart quilt today and yesterday, only to find out that someone else had already made a quilt for her in the very same pattern! So I am going to send her a different kind of package and save this for something else. 


It was a really fun, easy quilt to make. I followed the layout for the tutorial by Diary of a Quilter, but cut my squares to 4" instead, and swapped the outer rows for a 4.5" cut border. This design is a wonderful stash buster too! I'm pretty much out of low volume scraps.

Lastly, I am loving all the new fabric lines coming out right now! I can never justify purchasing full fat quarter bundles, and I'm never in love with every single print enough to want a FQ of each anyway, so I opt for smaller precuts usually. I bought two mini charm packs of Ella and Ollie by Fig Tree Quilts with no particular plan in mind, but ended up sewing them together the minute they arrived in the mail! I'll share more details on this one when it's finished. 


Thank you for being here with me and for those of you who chime in on Instagram too! There are some big things happening behind the scenes that I can't share for quite some time, and hope that you'll stick with me as I may be sharing less for a little while. No, it's not fabric design, though I hope to get to that one day! :)

Happy Spring, be back soon!

April 5, 2018

Behind the Scenes


I've had this post in my drafts for a while but have been hesitant to post it. Why not today! :)

A while back when my sister was visiting, she made a comment about what followers on Instagram must think about my daily life. We had a good laugh about the chaos and mayhem that is usually just out of frame and didn't discuss it much more. The more I thought about it though, the more I felt I should speak up. I always assume that because most of you know that I have 3 little boys, you already know that my life is anything but glamorous. But in case you don't, let me elaborate.

We rent a small house on a very ordinary street. It is nearly always messy inside and I am generally under-showered and wearing some form of yoga pants which, in my case and the words of @letterfolk, are "anything-but-yoga pants". I don't make time for exercise beyond walks, though I know I should. The boys fight sometimes, and I lose my patience. They break everything! Neither my husband nor I are very proficient in house repairs, and we have holes in the wall, rips in the flooring, and smudges/scratches/stains on literally everything. LITTLE BOYS! So cute, so heart stealing, soooo destructive.

My husband hasn't been working for terribly long, and we've spent most of our marriage with him finishing school. If any of you have started a family during grad you school you know the financial sacrifices and mental/emotional strains can be intense. Having had our first babies in apartments, we feel beyond blessed to have this little house where the boys can play outside. Oh to have a yard! It still feels like a dream. Though he makes decent money now, we live in an expensive state and have massive school loans, so we live simply. So far the most expensive thing we've ever purchased was an 8 year old Toyota Yaris with automatic nothing. Our couch was purchased on Craigslist, as is most everything else. This works out well actually, because if the boys ruin something I don't get upset because I didn't care about most of it in the first place! I did care about the baby vegetable plants that they smashed yesterday, but don't get me started on that.

We decided in 2016 that my intense love of quilting not only did not fit into the family spending, but could possibly be put to good use in helping the family finances, so I started Woodberry Way writing patterns. It is still in the early stages, but I have high hopes for it, especially as my children grow a little older and more self sufficient. Some amazing opportunities have already come from it- it's remarkable what can happen when you are brave and try new things! Business doesn't come naturally to me, but quilts do, and I feel really lucky that I have had the pleasure of creating this little corner of the quilt world.

That is the reality of things. And you know what? I love it. And I mean LOVE love it, with a pretty intense level of daily joy and satisfaction. We are cozy and safe and fed, and immensely grateful for good health. We get to walk out past the edge of the neighborhood and look for little creatures and pick wildflowers. My husband is a good man. I get to put the crazy little ones in bed and go to my room and sew pretty things together. Man I love to do that! I find joy in a sunset, a tasty dinner, a sweet snuggle, a quiet walk, a child's prayer, in CREATING.

Here is a quote from the brand new prophet of our church, President Russel M. Nelson:
 "The joy we feel has little to do with the circumstances of our lives and everything to do with the focus of our lives."

No matter one's city, family situation, job or lack thereof, or bank account, we all have the power to feel joy. I believe that power comes from a focus on the gospel of Jesus Christ. His example and words show us the very best, happiest way to live. Not that we do it perfectly, ever, but the daily trying brings peace and blessings that can't be found any other way. 

If you had told me as a young adult that I'd be raising (soon to be) 4 boys and running a quilt business, I would have laughed. I may have cried with a little bit of fear/disgust/disappointment to be honest. It certainly didn't fit with my idea of myself at that time. Yet it came, and here we are, and I have learned to love it so much. I hope that wherever you find yourself today, you find ways to love it. Some things can be changed, so start changing! Other things can not, and must be accepted and loved. I didn't mean to get so bossy today, the main thing that I wanted to say was- I share pretty pictures of quilts because they make me happy, I want to inspire others to create, and I would really love for people to buy my patterns that I've worked so hard on. Please remember though that the daily reality includes a lot more.... mess, and bugs, and hollering :) And that is just fine by me.

Now back to quilt posts! I have some really fun things coming up that I can't wait to share with you. See you soon!

April 2, 2018

Springtime/Easter Fussy Cut Pillow

I recently finished this sweet little pillow and sent it to my sister. She is expecting her first baby, a girl, and she was due on Easter! She still hasn't come but we are awaiting her arrival any day :) I thought it would be nice addition to her rocking chair and a sweet reminder of her birth.


I didn't follow a pattern, but I cut 3" fussy cuts from all different lines- some new prints from Sew Stitching Happy (the backing print was from her I believe), and some from Anna Daisy's Fabric on Etsy. A few of them were from scraps of older fabrics that I already had. The sashing is 1/2" finished and I gave it borders to reach an 18" size, which is the size I nearly always make.


I quilted the front on my machine first with a diagonal grid, and then added some white hand quilting as a finishing touch. I did a blog post about what I use to hand quilt here.


I recently added a series of videos to my profile on Instagram showing how I put zippers in pillows. You can check that out here (not sure if it will work on desktops, maybe just from the app on the phone?) I also have a photo tutorial here on the blog.


We had a beautiful Easter here watching LDS General Conference and spending some time outside. Springtime in Sacramento really can't be beat, and I cherish the things we celebrate during this time, as well as the inspiring words from Conference.